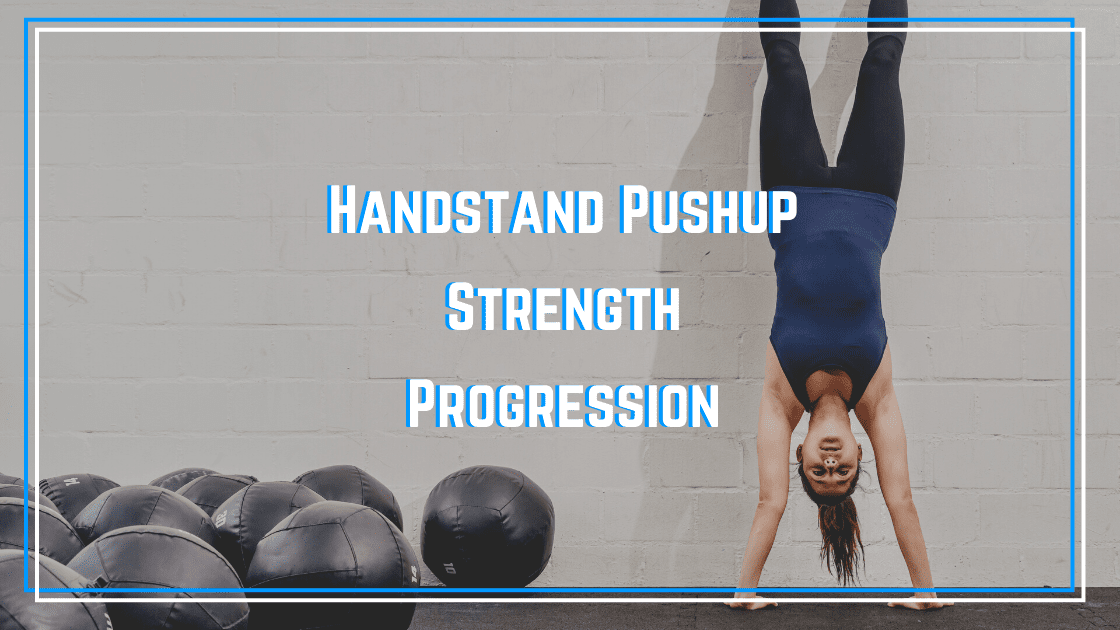
Handstand Pushup Strength Progression
Building to your first strict handstand pushup requires a considerable amount of strength and balance. You will need to get comfortable being inverted while building strength in the triceps, shoulders, pecs, and back muscles. Here is a basic guideline to learning the strict handstand pushup against a wall.
Our 4-week Handstand Pushup program has helped hundreds of athletes reach their goal of performing a strict handstand pushup. If you are ready to finally cross this movement off your goals list, join us today!
Step 1: THE TRICEP PUSHUP + PIKE HANDSTAND HOLD
We will start with the foundational strength and technical understanding of this skill. We are starting with the tricep pushup to create a tripod at the bottom portion of the pushup. This position is essential because once an athlete masters this skill against the wall, they can do freestanding, and the tricep shape will be imperative to balance freestanding at the bottom of the handstand.
When performing the tricep pushup, the athlete should be able to move the hips and shoulders at the same rate, up and down, while the triceps move back, as the athlete lowers.
While building strength with this style of a pushup, we will also have the athlete work on static inversions. To do this, we start with a pike handstand, with the feet on the box, as shown in the video below.
?Recommended to 10-12 successful tricep pushups in a row and 30-45sec pike handstand hold before moving to step 1A
Step 1A: THE HANDSTAND HOLD
The handstand pushup will eventually require a handstand against the wall. This position can be a scary step IF the athlete has not mastered step 1. The handstand hold should be performed first with a spotter and mats for safety.
?Recommended to complete 30-45 seconds handstand hold before moving to step 2. If you are having difficulty with mobility for the handstand, see this article for help.
Step 2: THE PIKE HANDSTAND PUSHUP
We are combining the drills from step 1: the tricep pushup and the pike handstand off the box. This step will be difficult if the athlete has not mastered the stage before. For athletes having trouble with this step, we frequently find that they haven’t developed enough strength in the tricep pushups. We like to see an athlete be able to perform 8-10 reps with excellent form in the tricep pushups before working pike handstand pushups.
?It is recommended to complete approx 3-5sets x 5 reps of the pike handstand pushup before moving to step 3.
Step 3: THE DEFICIT PIKE HANDSTAND PUSHUP
This drill is helpful before moving to the wall because it increases the range of motion, therefore building more pressing strength for the athlete. Start with a small deficit, and then start to add to the deficit as you get stronger.
?It is recommended to complete approx 3-5sets x 3 reps of the pike deficit handstand pushup [with at least a 2in deficit] before moving to step 4.
Step 4: THE ECCENTRIC HSPU
Three phases of training help build strength: concentric, eccentric, and isometric. We trained the isometric in step #1 and the concentric in each step; now, we work on the eccentric or negative portion of the skill. In eccentric training, we are building muscles through the lengthening of muscle fibers, hence creating a great connection to the concentric movement.
?It is recommended to complete approx ten controlled reps on a slow 3-5 count before moving onto the final phase.
THE FINAL PHASE: THE HANDSTAND PUSHUP
We have finally made it! It may take months or even years to get to this final phase, but you will be building strength, technique, and confidence as you move through each stage. This skill should be celebrated when achieved, as we know how much work and dedication it takes.
Are you still struggling with this skill? No problem. We have a 4-week program that organizes each day with sets/reps and drills to help you get stronger and building towards your first strict handstand pushup!


