The Sleeper Stretch
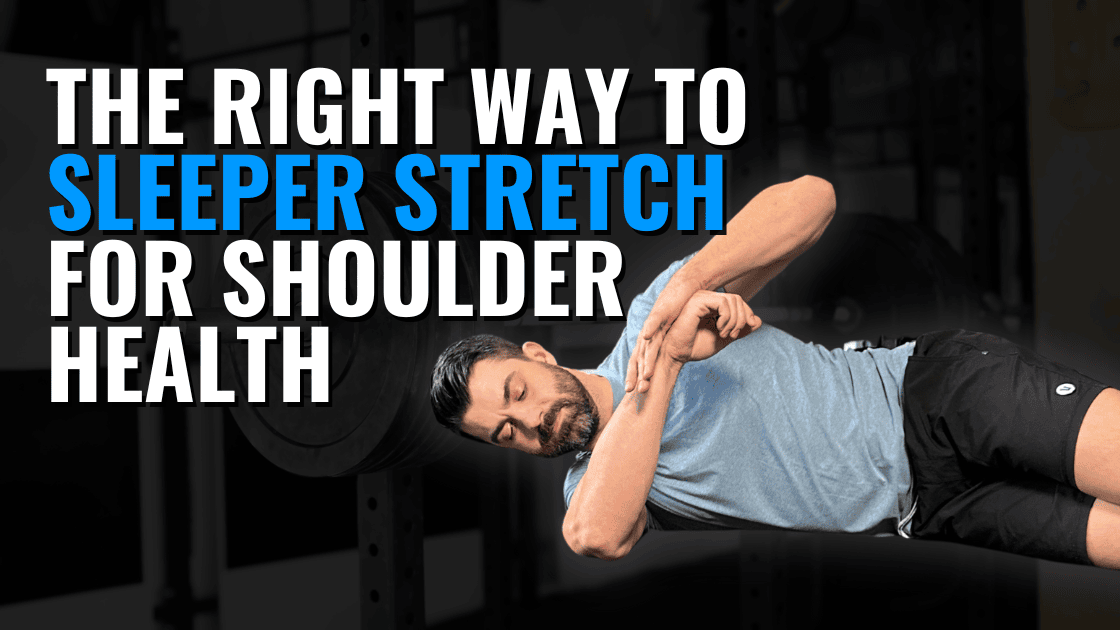
The sleeper stretch is a frequently debated mobility exercise among rehab providers. Some prescribe it regularly, while others criticize it as a potentially dangerous stretch that mimics the Hawkins-Kennedy impingement test position. In my experience teaching physical therapy continuing education courses, those who dislike the sleeper stretch are often either not performing it correctly or using it with clients who don’t need it. This article will outline the correct way to perform the sleeper stretch.
Who Should Be Doing the Sleeper Stretch?
My clinical practice focuses on fitness athletes, including CrossFitters, Olympic weightlifters, and powerlifters. Since I don’t often work with overhead athletes, my viewpoint is heavily influenced by my patient population.
For fitness athletes, I frequently see clients with tight posterior shoulders and limited overhead mobility. Often, shoulder flexion doesn’t improve until we address this posterior tightness. I’ve observed significant improvements in shoulder flexion range of motion simply by targeting posterior tightness, even without directly focusing on flexion.
In my practice, I use the Tyler Test to assess posterior shoulder tightness. You can read about the Tyler Test in this research study, but I’ll also include a video of how I perform the test, with slight modifications for working with larger, more muscular athletes.
The Right Way to Do the Sleeper Stretch
Now that we’ve established who benefits from the sleeper stretch, let’s cover the correct way to perform it.
It’s true that the sleeper stretch position brings the shoulder into a similar position as the Hawkins-Kennedy test for shoulder pain (image here). However, when set up correctly, I rarely find that the sleeper stretch aggravates symptoms. Instead, it provides a targeted stretch to the posterior shoulder. As I guide a client through the steps below, I continually check where they feel the stretch.
- Is a stretch felt in the back and/or top of the shoulder? Perfect!
- Pinching or pain in the front of the shoulder? We may need to adjust our setup or consider if the sleeper stretch is appropriate for this individual.
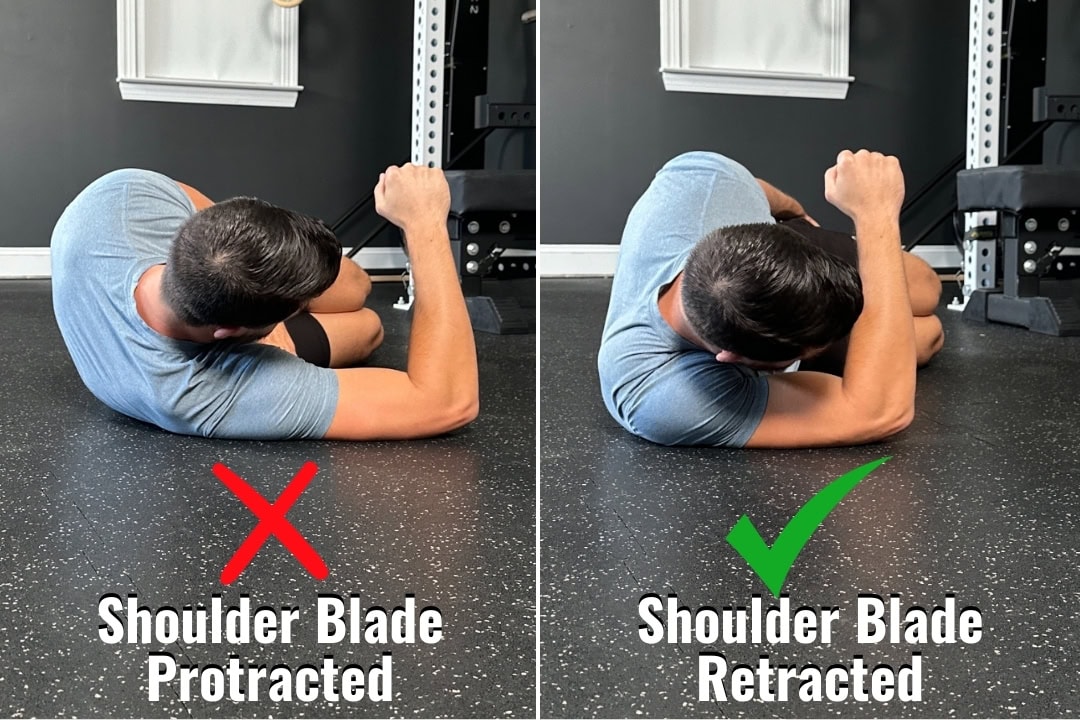
The first step in correctly performing the sleeper stretch is to retract (pull back) the shoulder blade. I instruct clients to lie on the lateral edge of the shoulder blade, which locks the scapula in place, allowing us to focus on mobilizing the tissues that connect the scapula to the humerus (upper arm).
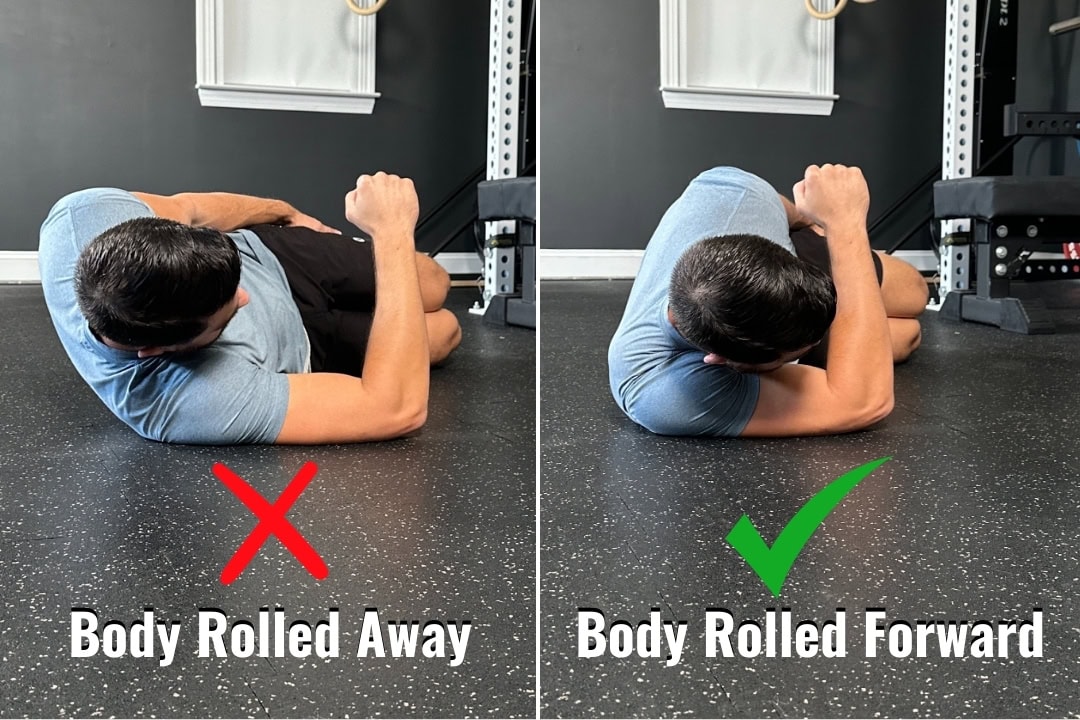
Next, I have my clients roll forward, bringing the arm into greater horizontal adduction. This position increases emphasis on the posterior shoulder, reducing the amount of internal rotation needed to feel a stretch.
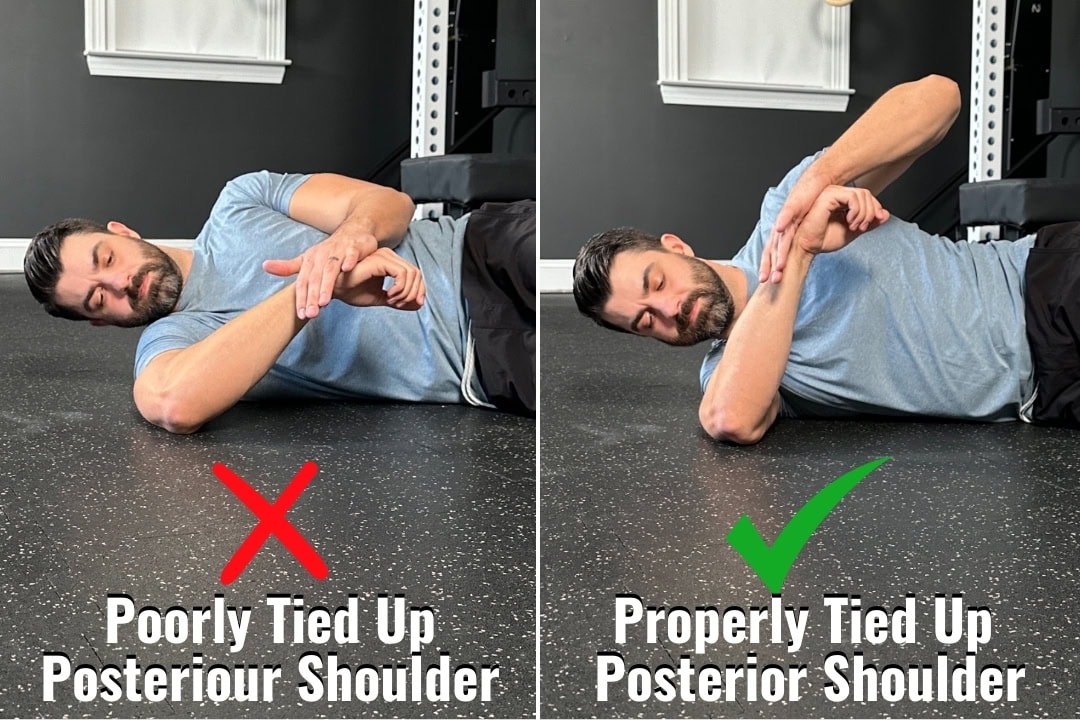
Finally, we internally rotate the arm, using the opposite hand to apply a light stretch to the back or top of the shoulder. As shown in the picture below, significantly less internal rotation is needed when the scapula is retracted, and the client rolls forward before beginning the stretch.
Here’s a video walkthrough of the stretch set up:
Sleeper Stretch Variations
I rarely use the sleeper stretch in isolation. I typically prescribe one of the following three variations for clients needing improved posterior shoulder mobility.
Sleeper Eccentrics
These are excellent for both mobilizing and strengthening the posterior shoulder. Use enough band tension so that the opposite hand assists with the concentric motion, and perform the eccentric phase with a slow, controlled lower.
Credit to the ICE Physio Extremity Management course for this variation that is by far my favorite!
Sleeper PAILs/RAILs
Most of my static stretching is paired with isometrics after the stretch to begin building strength in the newly opened range of motion. For Sleeper PAILs/RAILs:
- Perform the stretch for 1-2 minutes
- Perform isometric contractions both into and away from end-range x10 seconds each
- Repeat
Seated External Rotations
Seated external rotations (ERs) are a staple in shoulder rehab. When working with athletes who have posterior shoulder tightness, I bring the arm into horizontal adduction and actively lock the shoulder blade into retraction and depression. This position similarly “ties up” the posterior shoulder, as described above.

