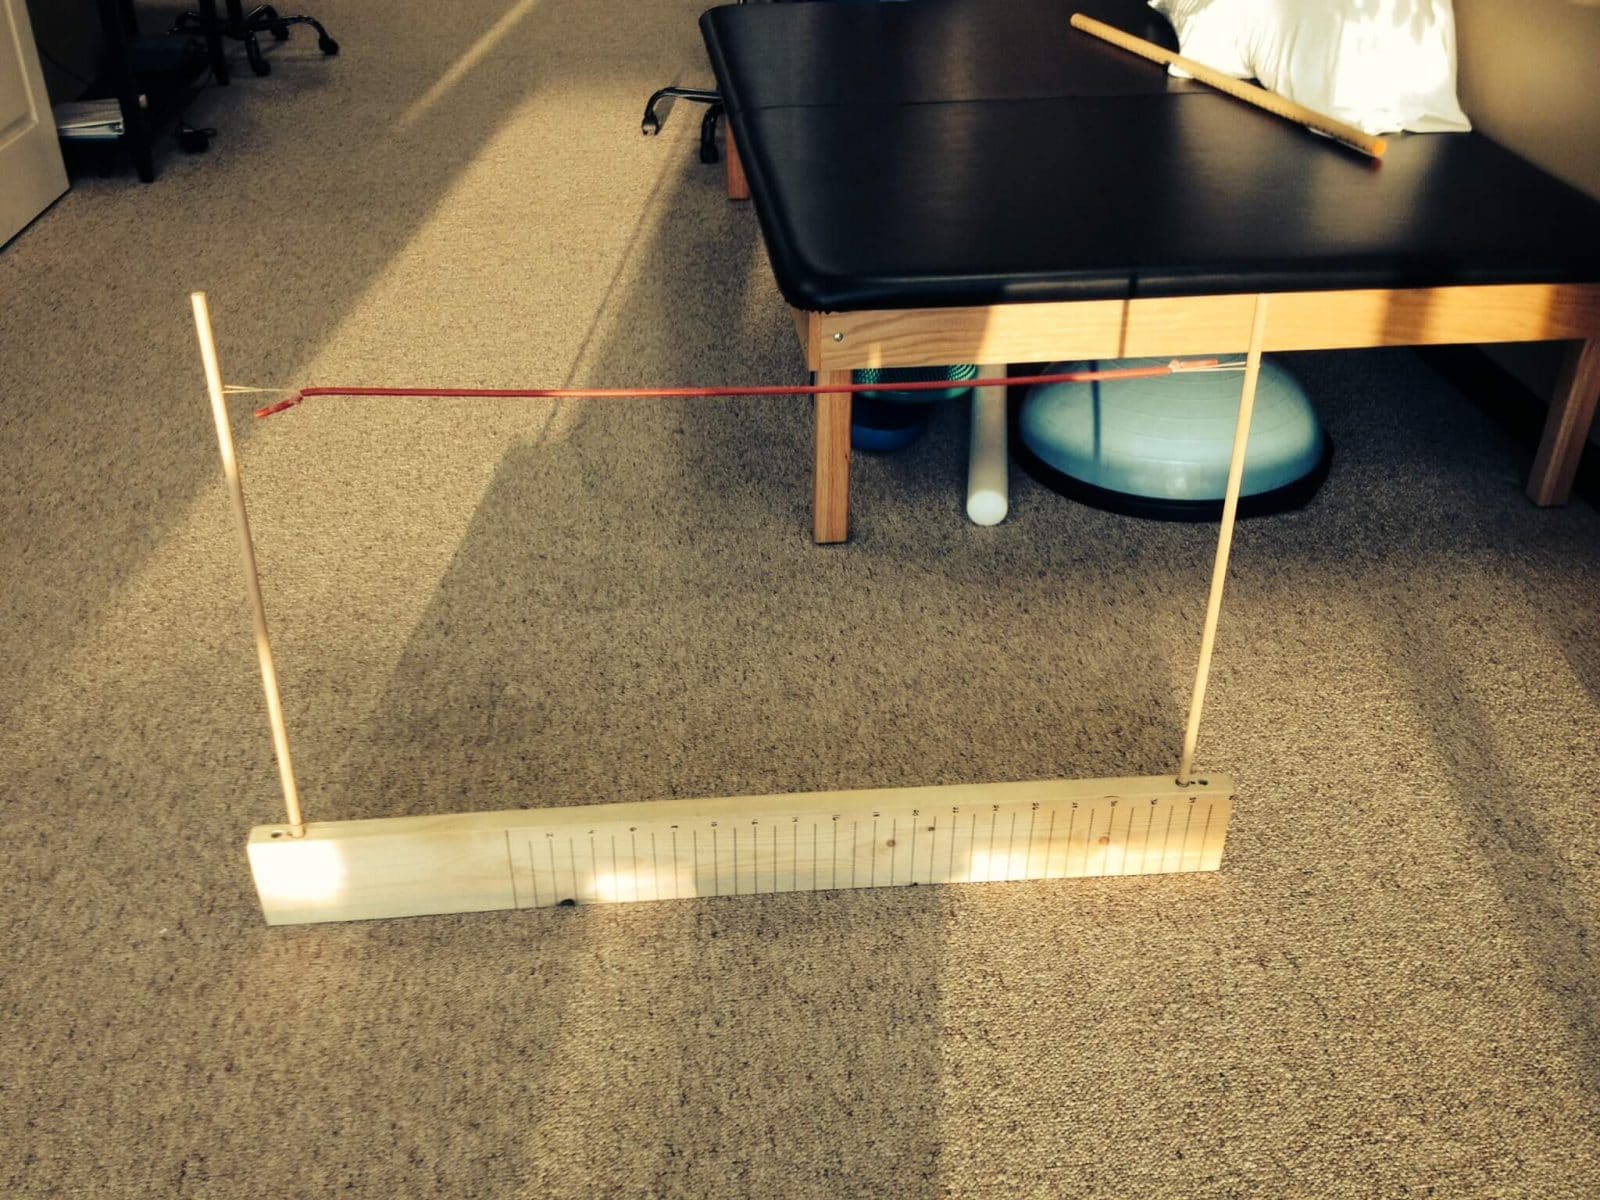
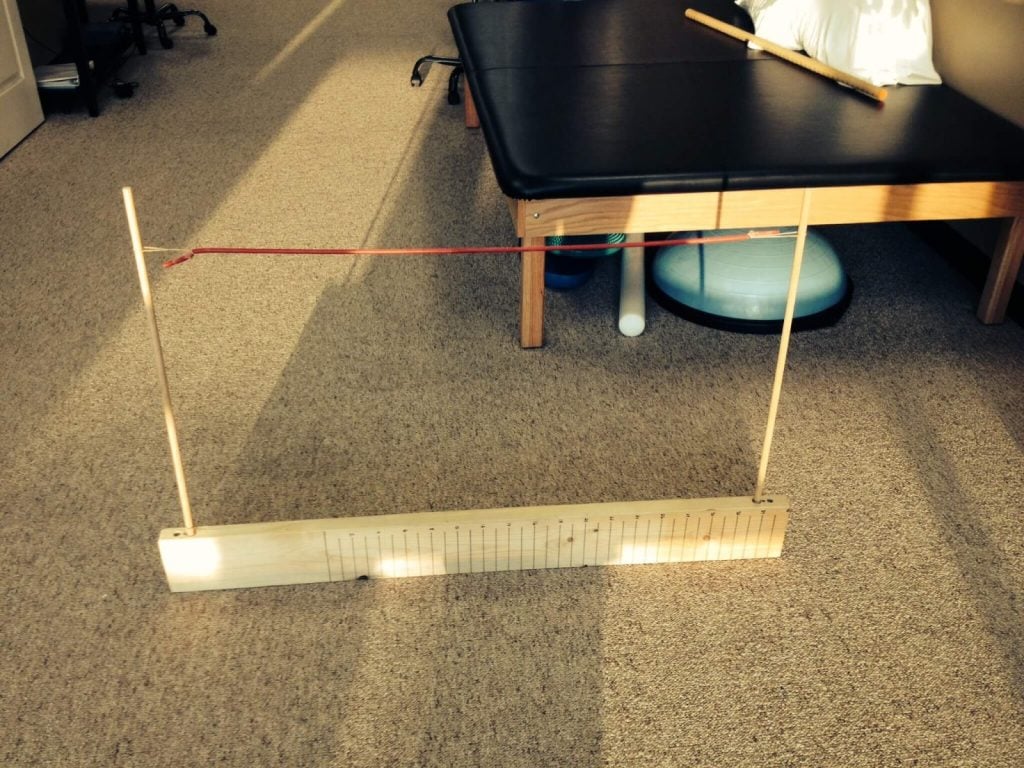
Recently built my own Functional Movement Screen kit after looking at buying a kit and feeling the cost was too high for its’ simplicity. Plus, I’ve seen the plastic version break a few times. I thought I’d share my plans for building a DIY FMS kit for a cheaper and more durable option for performing the Functional Movement Screen.
Build Your Own Functional Movement Screen FMS Kit
Step 1. Go to a hardware or lumbar store and purchase a 48″ dowel and 48-inch piece of 2″ x 6″ piece of wood
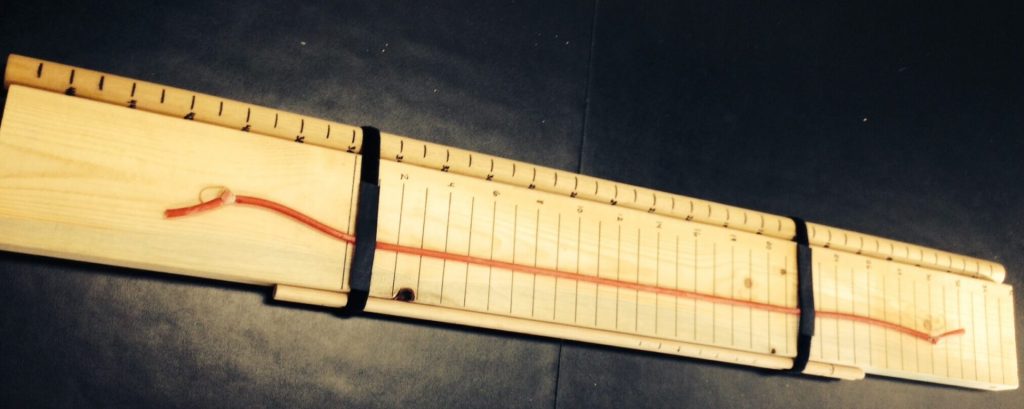
Step 2. Mark of the entire dowel in inches. I also recommend numbering every other tic mark for easy reading of the length. Next, starting 12 inches from one end of the 2×6 mark off every inch. This should give you 36 inches marked on the board. Be sure to write numbers down both the dowel and the 2×6 for easy measurement during FMS kit testing.
Step 3. Stand the wood up on its side. Use a drill to drill two holes ~2″ deep. I highly recommend using a drill press to ensure the holes are vertical. If they aren’t drilled vertically, your DIY FMS Kit will look off when you build the hurdle.
Step 4. Place 3/8″ dowels into the holes with the board on its side. Take theraband, rope, or string to make the hurdle.
Step 5. This one isn’t a must, but I do highly recommend it for your DIY FMS Kit. Use velcro to hold everything together for easy carriage during traveling and better storage when not in use.
Update to this article on a DIY Functional Movement Screen kit. I previously have used the FMS as part of my return to play testing in athletes after surgeries or serious injuries. But in recent years, the Functional Movement Screen has not held up in research as a valuable tool for predicting or reducing the risk of injury. So I do not perform this anymore. For more information, see the following video by the Institute of Clinical Excellence podcast:


